Valentine's day is almost here and you will start to see oodles of cutesy heart crafts all over Pinterest and coming home from your kid's preschool. As a former art teacher and a museum professional, I have a little bit of personal disdain for holiday crafts. Mostly because I value the arts so much and understand how beneficial the arts can be for children.
For holidays, like Valentine's Day, it is understandable that most people look for a specific holiday-related product (like a heart). I want people to know that it is still possible to end up with a cute heart-shaped product AND give children a more valuable art-making experience. Many famous artists use hearts in their artwork and can be a great source of inspiration!
Read: ARTIST-INSPIRED VALENTINES
This post contains affiliated links for your convenience. I only write about products I love and all thoughts and opinions expressed are my own. For more information see Legal.
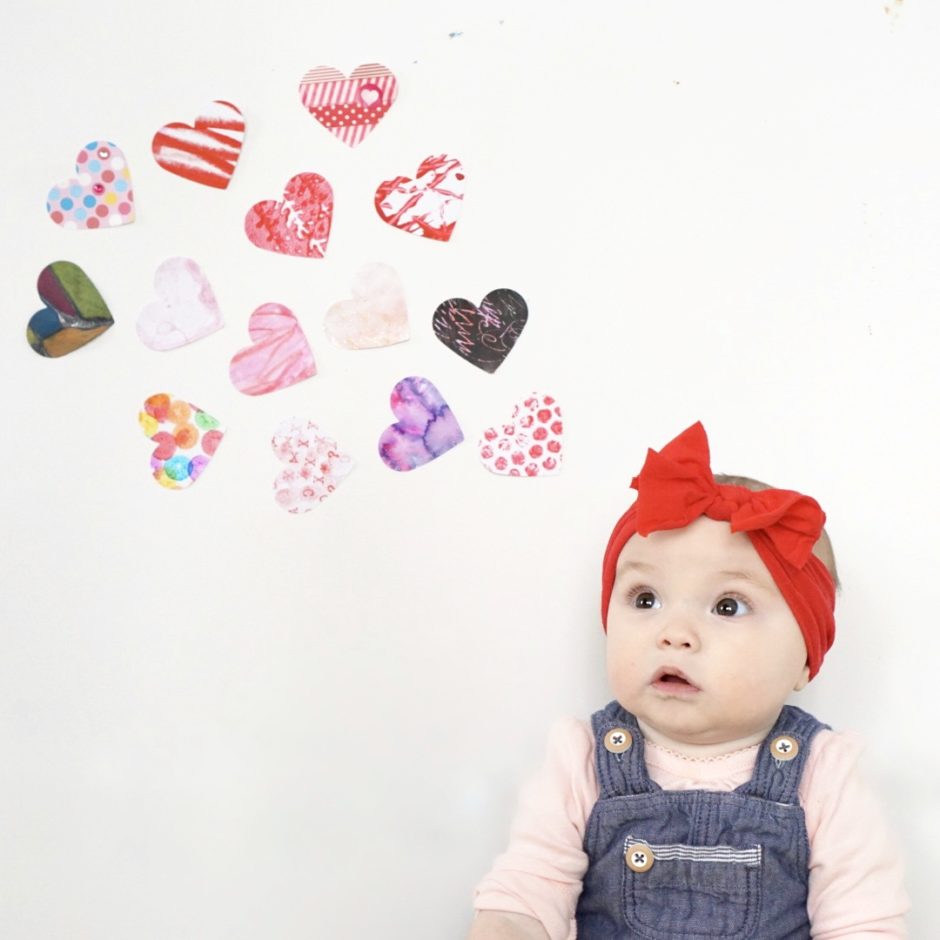
Here are some quick and fun art techniques you can use with your little one this February to make a different heart each day until Valentine's Day. These process art hearts will introduce your kids to different art materials and different techniques and give them the freedom to be creative and experiment. No matter what their "experiments" might look like, they will all end up with a "successful" heart they can be proud of because they'll cut out their hearts with a heart-shaped craft punch at the end.
*If you don't have a heart shaped craft punch you cut out the hearts for them with scissors or use a Cricut machine.
All of these hearts are made by decorating or painting on a whole page or a half page of paper and then cutting out the heart. We do this instead of decorating the hearts after they are already cut out because it gives kids more space to create. It also makes it more likely the designs will go all the way to the edges of the hearts instead of just in the center like kids will often do.
1. DOT MARKER HEARTS
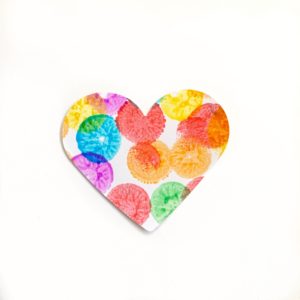
Dot markers are an awesome art material for toddlers, because they are clean, easy to grip, and brightly-colored. You can draw with them just like a translucent paint or dab them to make dots. *If you don't have dot markers you can use a pencil eraser, fingertip or a q-tip dipped in paint.
- Decorate a piece of paper with the dot markers.
- Cut out your heart(s) with either a hole punch or cut out the hearts with scissors.

MORE IDEAS
- POINTILLISM: Introduce the artist George Seurat and the concept of Pointilism.
- DOT GAME: Choose a color and roll a die to determine the number of dots your child should draw with each color.
2. QUIX STIX HEARTS
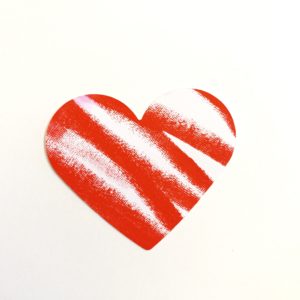
These Quix Stix are tempera paint in solid form. Quix Stix give you a rich color that blends like an oil pastel, but dries quickly without mess. They are a really versatile art material, so if you don't have them in your art supply cabinet I definitely recommend them!
- Draw on a piece of white or colored paper with the Quix Stix.
- Let dry for just a second.
- Cut out your heart(s) with either a hole punch or you can cut out the hearts with scissors.

MORE IDEAS
- COLOR MIXING: Encourage your child to blend colors together to try to make new colors.
3. FINGERPRINT + STAMP HEARTS
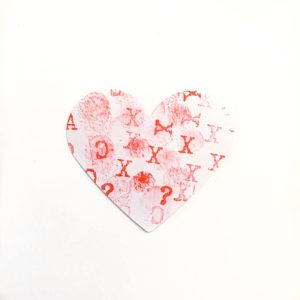
This heart turned out to be one of my favorites. We used some mini alphabet stamps with red washable ink and then filled in some of the white spaces with inked fingerprints.
- Use rubber stamps in ink to cover a piece of white or light colored paper.
- Press your finger in the ink and fill in the white spaces between the letters with fingerprints.
- Cut out heart with hole punch.

MORE IDEAS
- CONVERSATION HEARTS: Choose Valentine's related words and stamp them onto the paper or for really young toddlers try a pattern of X's and O's.
4. SCRAPBOOK PAPER HEARTS
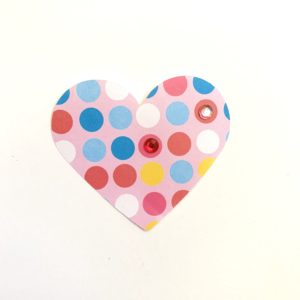
This is an easy one, but great practice using the heart hole punch or cutting out the hearts by hand.
- Choose some pretty scrapbook paper or wrapping paper to cut out the hearts. You can even use newspaper or magazine pages for some interesting hearts.
- Then, bedazzle with sticky rhinestones, stickers or glitter.
MORE IDEAS
- COLLAGE: introduce collage as an art medium and the concept of layering and overlap.
5. SCRATCH ART HEARTS
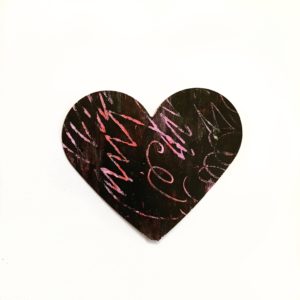
Did you know that you can make your own scratch art paper? It's usually made with a layer of wax crayon covered in black paint mixed with a little bit of dish detergent. I figured out an even better way using the quix stix solid tempera so there is no paint mess! You can also buy sheets of scratch art paper.
- Color large areas of color on a piece of white paper with wax crayon (press hard with the crayon).
- Parents If your child leaves a lot of white spaces, do a layer of white crayon over the whole page. It will get enough wax on the page, and will preserve the integrity of their art.
- Use a black Quix Stix or black tempera paint to cover the entire page of crayon.
- With a pointed stick (we used a dried up pen), scratch off the black paint to reveal colorful crayon designs underneath,
- Cut out hearts with a heart hole punch.
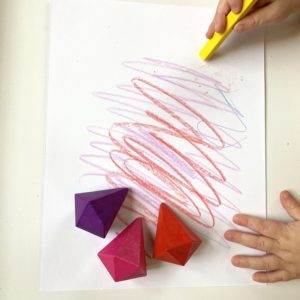
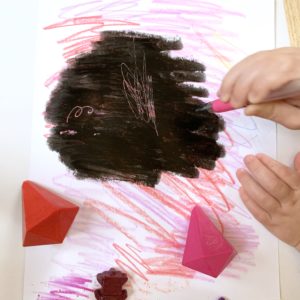
MORE IDEAS
- PATTERN: Encourage your child to create line or shape pattern in their scratch art.
- READ HOUSE IN THE NIGHT: House in the Night by Susan Marie Swanson is a Caldecott-winning picture book that uses beautiful Scratch Art illustrations
6. BUBBLE PRINT HEARTS
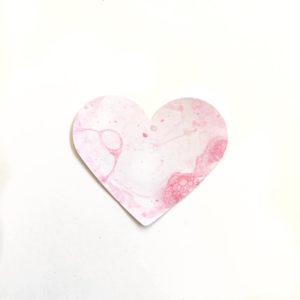
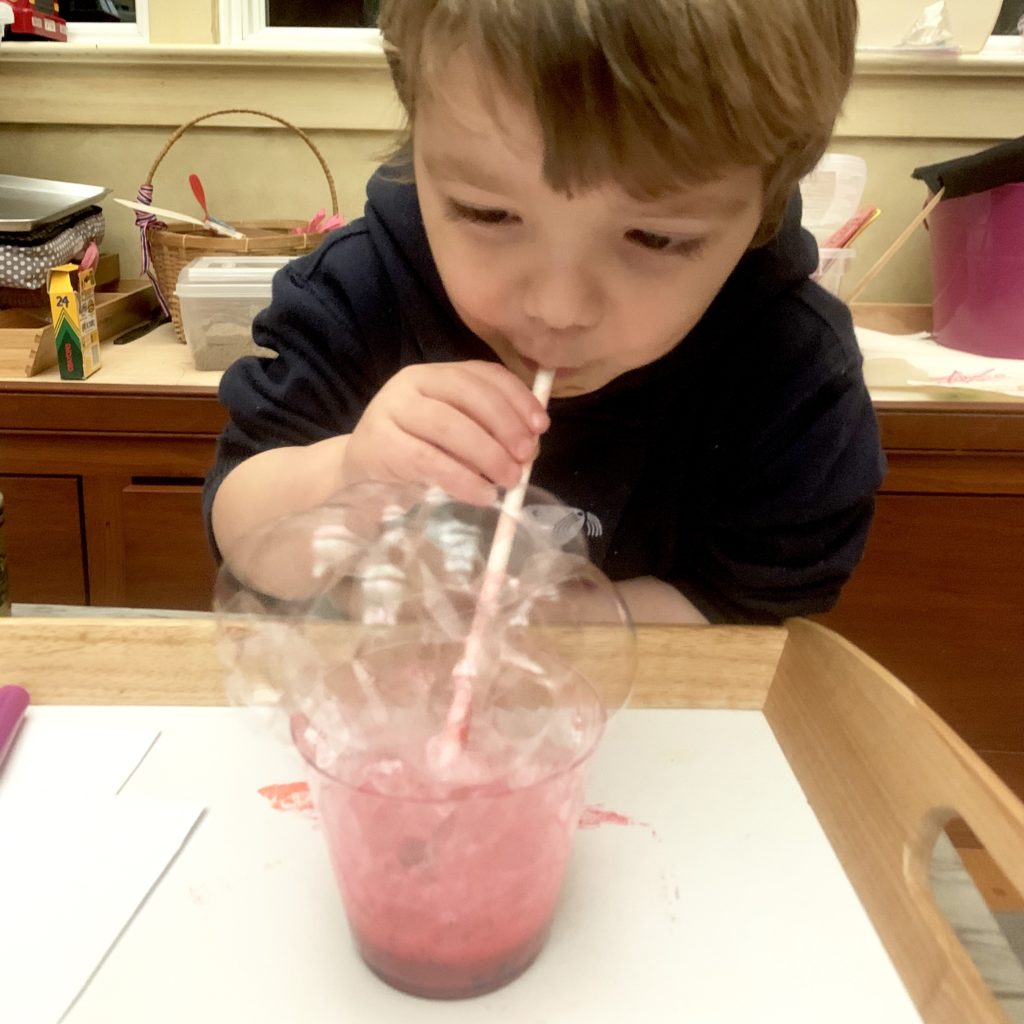
This activity is sure to be a hit, if your toddler likes blowing bubbles in their chocolate milk they will love this activity. Just make sure they don't drink the soapy paint water!
- Squirt some paint in a shallow container or cup, add a few squirts of dish soap and a little bit of water. Stir.
- Use a straw to blow bubbles in the soapy paint mixture until the bubbles reach over the top of the container.
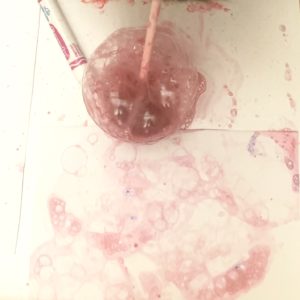
- Press a piece of paper onto the bubbles. Let the bubbles pop on their own.
- Repeat until the paper is covered with bubble prints.
- Parents If the bubble prints are too light, try adding more paint to the mixture.
- Cut out hearts with a heart hole punch.
MORE IDEAS
- BUBBLE SCIENCE: 'Check out The Science Behind Bubbles' on Kids Discover
7. WAX-RESIST WATERCOLOR HEARTS
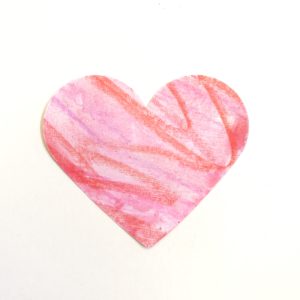
You've probably heard of this technique before for dying Easter eggs. If you draw on something with wax crayon it prevents watercolor (or dye) from sticking to that area and creates a wax-resist. For kids, it is like magic! Their "invisible" white crayon suddenly appears when they paint over it with their watercolor. If your kid gets frustrated that they can't see their white crayon, they can use a colored crayon as well!
- Scribble on a piece of paper with white (or colored) wax crayon.
- Paint over the paper with watercolor and the wax crayon lines will appear.
- Let the painting dry.
- Cut out hearts with heart hole punch.

MORE IDEAS
- WATERCOLOR + SALT: Add a pinch of table salt to wet watercolor and watch it form a crystal pattern.
- RUBBER CEMENT RESIST: paint rubber cement glue on paper, let dry, then paint with watercolor.
- TAPE RESIST: Lay down some pieces of tape, paint over top with watercolor, let dry and then remove tape.
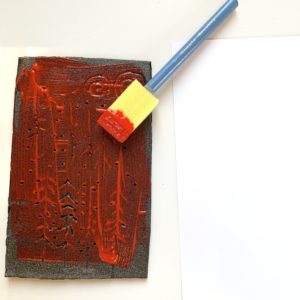
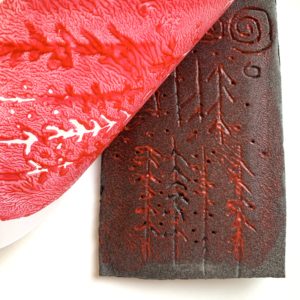
8. STYROFOAM PRINT
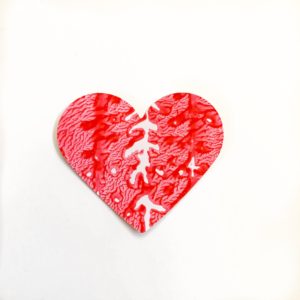
I love a good craft that re-uses or recycles household trash. This heart craft re-uses styrofoam from the trays that some meat or produce comes on at the grocery store. You can also use styrofoam plates or buy scratch foam boards.
- Parents Trim off the curved edges from the strofoam tray or plate so you have a flat printing surface.
- Draw into the styrofoam with a pointed stick or a dull pencil.
- Cover the styrofoam printing surface with a thin layer of paint using a foam brush or paint roller.
- Lay a piece of white or colored paper down onto the painted surface.
- Press down and rub the back of the paper with your hands or a wooden spoon.
- Peel the paper from the styrofoam.
- Let dry.
- Cut out with heart hole punch.
MORE IDEAS
- WHAT IS A PRINT? Experiment with other objects that can make a print (a fingerprint, handprint, potato print, stamp etc.)
9. BUBBLE WRAP PRINT
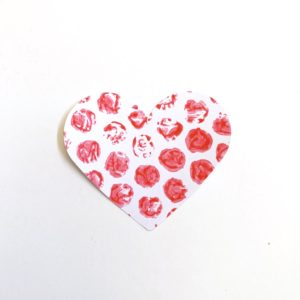
Bubble wrap prints are another craft that re-uses common household trash. They are one of my favorite printing techniques because it creates perfect polka dots!
- Parents Cut a small sheet of bubble wrap and tape the top and bottom onto a tray or table.
- Use a sponge brush or paint roller to cover the bubble wrap with a thin layer of paint or ink.
- Lay a piece of white or colored paper down onto the painted bubble wrap.
- Press down and rub the back of the paper with your hands or a wooden spoon.
- Peel the paper from the bubble wrap.
- Let dry.
- Cut out with heart hole punch.
MORE IDEAS
- ROY LICHTENSTEIN: Introduce the artist Roy Lichtenstein and his Pop Art based on newspaper comics. He uses printed dots called Ben-Day dots to create shading.
10. SHAKE PAINTING HEART
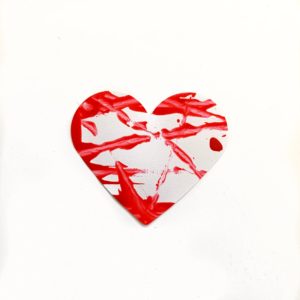
Your little one is going to love this activity. It's a great kinesthetic activity for energetic toddlers. It's all the fun of a messy craft, but with the mess all contained in a box! Note to self: red paint ends up looking a little crime scene-ish...
- Parents Put a piece of paper in a lidded container, squirt a little bit of paint, add a marble and close the lid very tightly. Then, turn on some music.
- Shake the marble around the container.
- Let the paint dry.
- Cut out hearts with a heart hole punch.


MORE IDEAS
- JACKSON POLLOCK: Introduce the artist Jackson Pollock by showing some of his action paintings or reading Action Jackson by Sandra Jordan.
- MUSIC + MOVEMENT: Play different genres of music and see how your child moves differently to each song (ie. slower for classical music, faster for jazz etc.). Then compare the paintings made during each different type of song.
11. GLUE "STAINED GLASS"
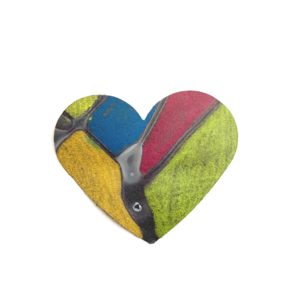
These stained glass hearts are perfect for helping your little one practice squeezing a glue bottle. This one can get a little messy, but it turns out pretty cool. PS. These hearts also makes perfect butterfly wings for a cute butterfly Valentine craft!
- Draw squiggly lines with Elmer's glue onto black cardstock paper or sturdy construction paper.
- Let the glue dry (it will dry clear).
- Color the paper with good colored pencils or colored chalk (construction paper crayons can work too). The dried glue will stay as black lines in between your colored areas.
- Cut out hearts with heart hole punch.
MORE IDEAS
- STAINED GLASS WINDOWS: Look at some examples of stained glass windows from churches or cathedrals.
12. "TIE-DYE" MARKER HEARTS
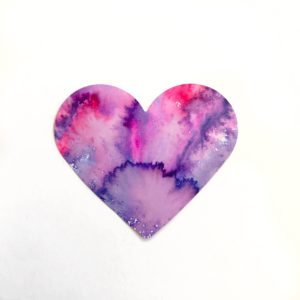
This heart is my favorite! It's really easy, fun for the kiddos and looks like tie-die when you are finished! It's made with washable markers and a spray bottle. I love these ultra-clean washable markers from crayola because they come off of hands so easily.
- Draw/scribble on a piece of white paper with washable markers.
- Spritz the paper with a little bit of water from a spray bottle and voila!
- Let the wet marker dry.
- Cut out with heart hole punch.
MORE IDEAS
- MARKER CHROMOTOGRAPHY: Combine art + science by using a black marker and seeing what colors come out of the black like in this activity from the 'Black Magic: Discover the Secret Colors Hidden in a Black Marker' from the Exploratorium website.
13. SCRAPE PAINTING
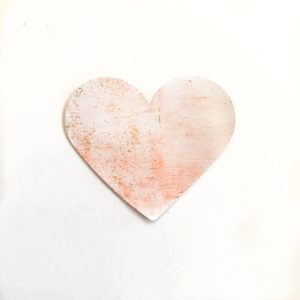
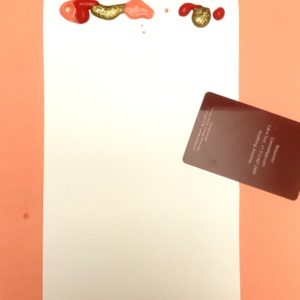
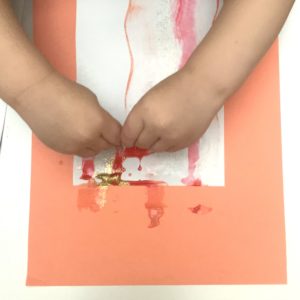
Finally a craft that uses those old hotel room key cards or used up gift cards you've got in the bottom of your purse! We threw in a little bit of glitter paint just for fun 😉
- Squirt a few dots of paint on one end of a paper.
- Use the card to drag the paint along to the other side of the paper.
- Let paint dry.
- Cut out hearts with a heart hole punch.
MORE IDEAS
- SCRAPE TOOLS: Cut notches in the credit card or use some of these cool scrape tools.
14. WASHI TAPE HEARTS
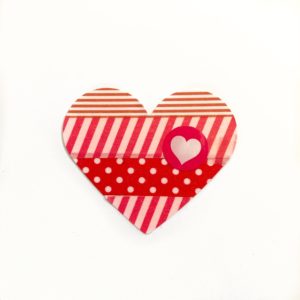
I don't know what it is about washi tape, but every time I have it out for a craft project the kids go nuts and that's the only material they want to use. Needless to say this heart craft was a hit!
- Parents Prep a few shorter pieces of washi tape and stick over the edge of their tray or table so it's easier for them to grab and stick. For this heart I recommend using colored paper, because they are likely to leave spaces in between their tape.
- Cover the colored sheet of paper with washi tape.
- Cut out heart with heart shaped hole punch
- Optional: Add a Valentine sticker or two.
MORE IDEAS
- SCISSOR SKILLS: Let your little one practice their cutting skills on the washi tape, by cutting their own small pieces to help with the prep. Draw an X on their right thumb (if they are right-handed) and tell them they always need to be able to see the X while they are holding the scissors. This prevents them from holding the scissors upside down. Toddlers as young as two can use self-opening safety scissors with proper supervision!
SHOW US YOUR HEARTS!
Tag your photos of your hearts or your little one making their hearts with @ureadyteddy and we'll share our favorites in our stories!

SHOP THIS POST

I’ve done the bubble wrap and it’s SO MUCH FUN. BRB while I bookmark and steal ALL of these!
I didnt know dot markers were even a thing but I need some! All of these heart ideas are so cute.
I love these ideas – how cute! I’m going to try some of these out with my toddler 🙂
These are such fun ideas for the littles. It’s always great to have a few of these in your back pocket to keep them occupied and thinking creatively!
Oh my goodness! I am loving all these craft ideas and I know my kids would too! Perfect for Valentine’s Day!