Teddy loves his TINKER TRAYS and loose parts play, so I knew I wanted to make something with loose parts for Teddy's ROBOT BIRTHDAY PARTY. I remembered what a hit the play dough party favors were for Scottie's PETER RABBIT FIRST BIRTHDAY PARTY and how inexpensive it was to make them so I thought I could figure out a way to make some silver play dough to go along with some loose parts.
This post contains affiliated links for your convenience. I only write about products I love and all thoughts and opinions expressed are my own. For more information see Legal.
BUILD-A-ROBOT PLAY DOUGH KITS
MATERIALS
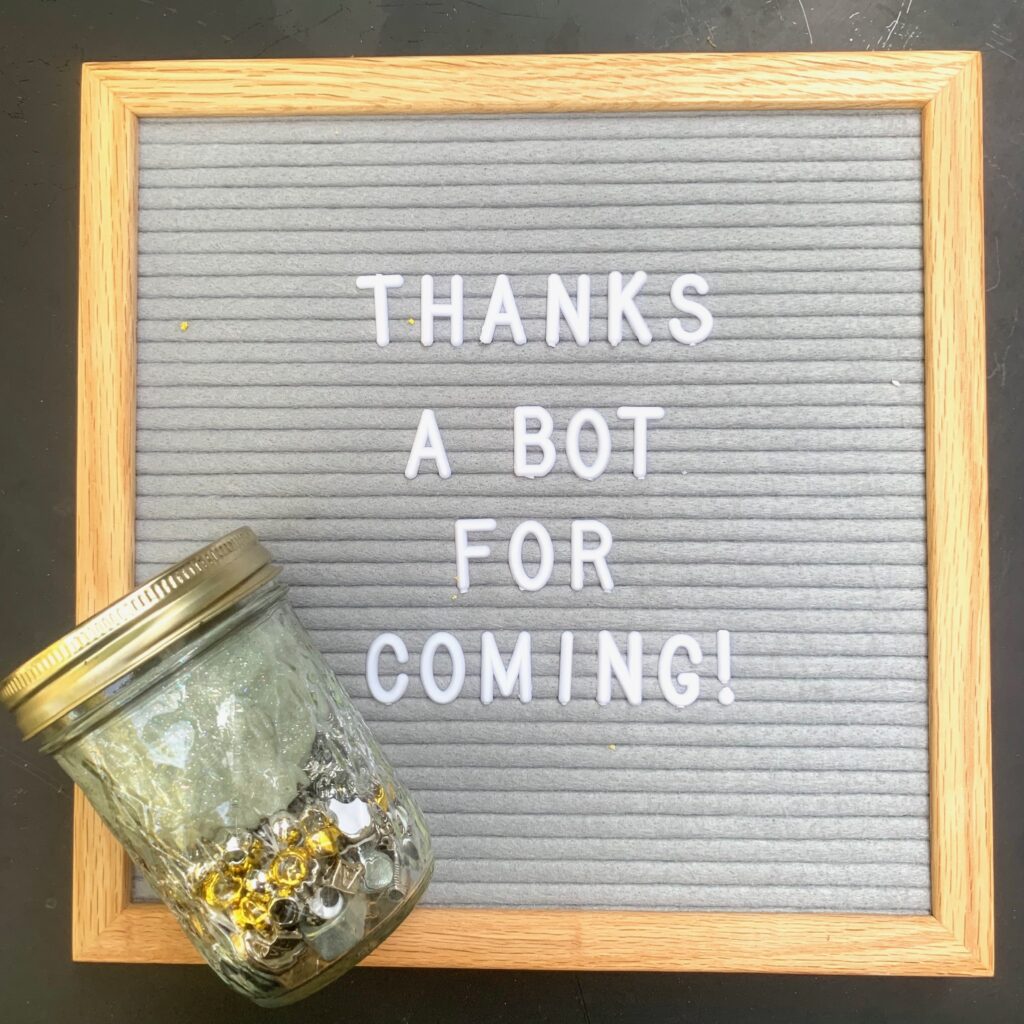
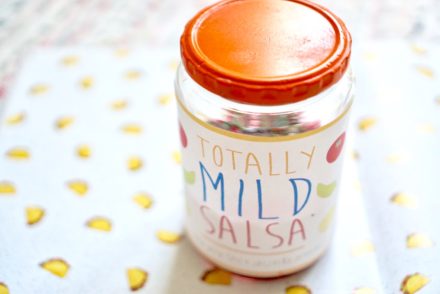
For these play dough kits I raided my mom's craft closet and my dad's tool box. I bought a few new supplies like the beaded necklaces and silver pipe cleaners. My mom also had a ton of old jars she was getting rid of so I was able to make twelve play dough kits for about $10.
** The play dough kits contain small pieces that may not be safe for children under three and require adult supervision. It is also important to make sure none of the metal pieces used have sharp parts.
- Jar or Tinker Tray
- Silver Metallic Play dough
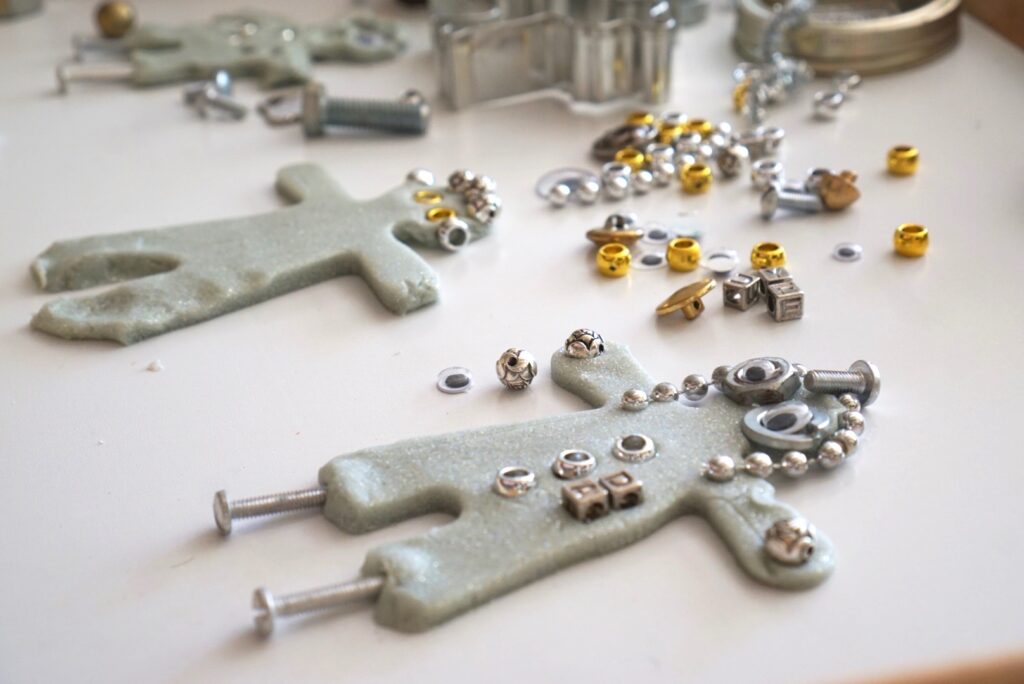
- Assorted Metallic Loose Parts
- Google Eyes
- Silver Pipe Cleaners
- [Optional] Robot Cookie Cutter or Regular Gingerbread Man Cookie Cutter

SILVER METALLIC PLAY DOUGH RECIPE
- 2 C. all-purpose flour
- 1/2 C. salt
- 2 tsp. cream of tartar
- 2 C. boiling water
- 2 Tbsp. of coconut oil (vegetable oil and mineral oil work too)
- Extra fine silver glitter
- [Optional] one drop light blue gel food coloring
- Gallon Ziploc bag
Mix the dry ingredients into a mixing bowl. Add the oil and boiling water. Stir until well-mixed. The glitter should be enough to color the play dough, but we added a drop of light blue food coloring to give the play dough a cooler metallic color. If you decide to add food coloring, When the play dough cools down enough scoop the play dough into a gallon Ziploc and add the food coloring. Let your little one squish and squeeze the bag to mix the colors through out without having to worry about stained hands or bowls.
Makes enough for 4-6 kids. Distribute into jars or tinker trays and for fun stamp a little robot face into the play dough.
IDEAS FOR METALLIC LOOSE PARTS
- Nuts + Bolts
- Flat Screws
- Washers
- Cut-up Silver Beaded Necklace
- Silver Pom Pons
- Metallic Beads
- Bottle Caps
- Paper Clips
- Binder clips
- Buttons
- Coins
- Notebook Rings
- Silver Toothpicks
- Soda Tabs (as long as they don't have sharp parts)
- Old Keys
- Cut-up Silver Paper Straws
- Broken Jewelry Parts
- Anything small and painted or spray painted silver
INVITATION TO CREATE
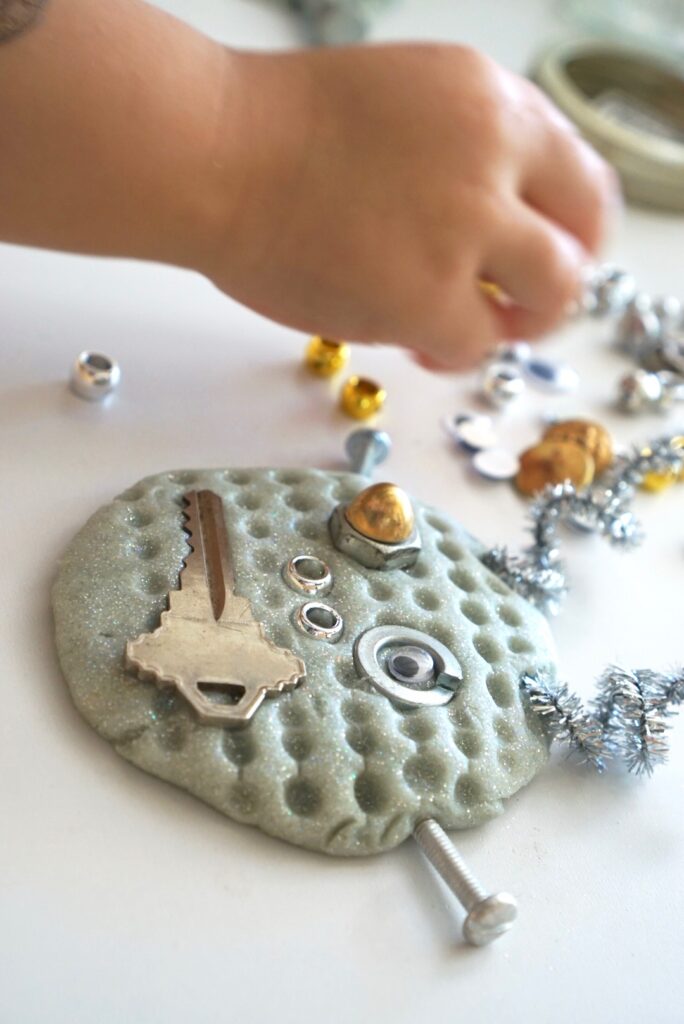
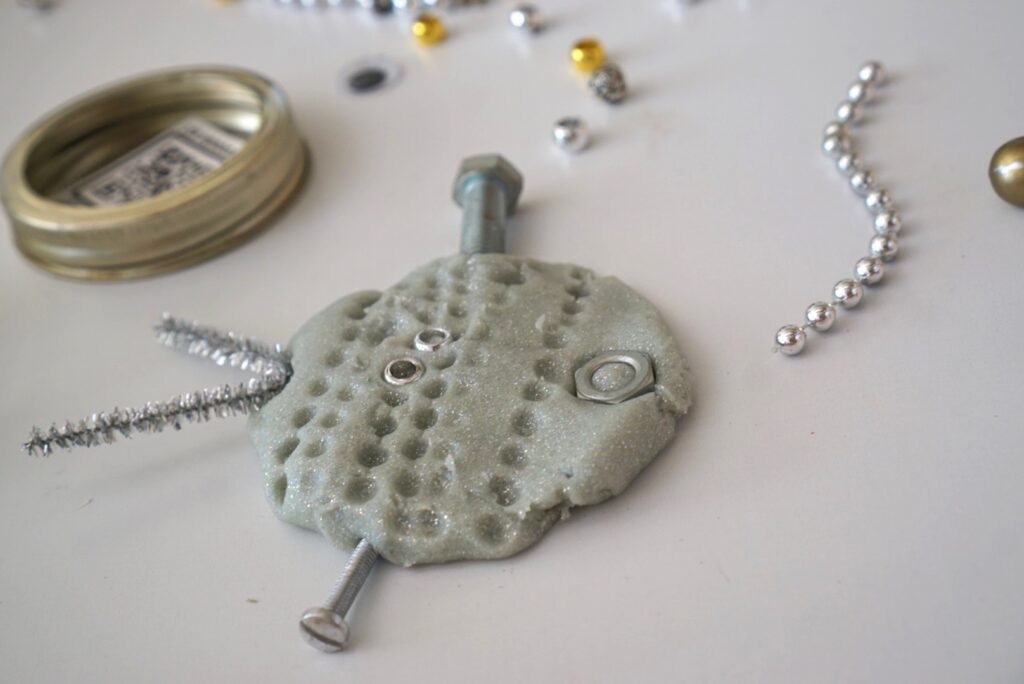
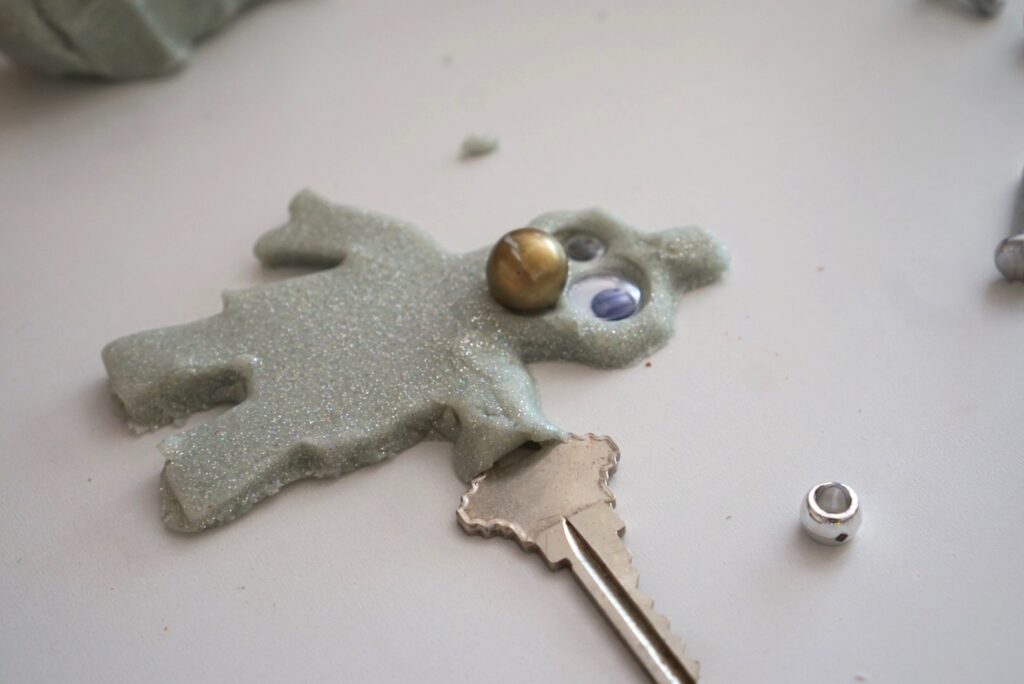
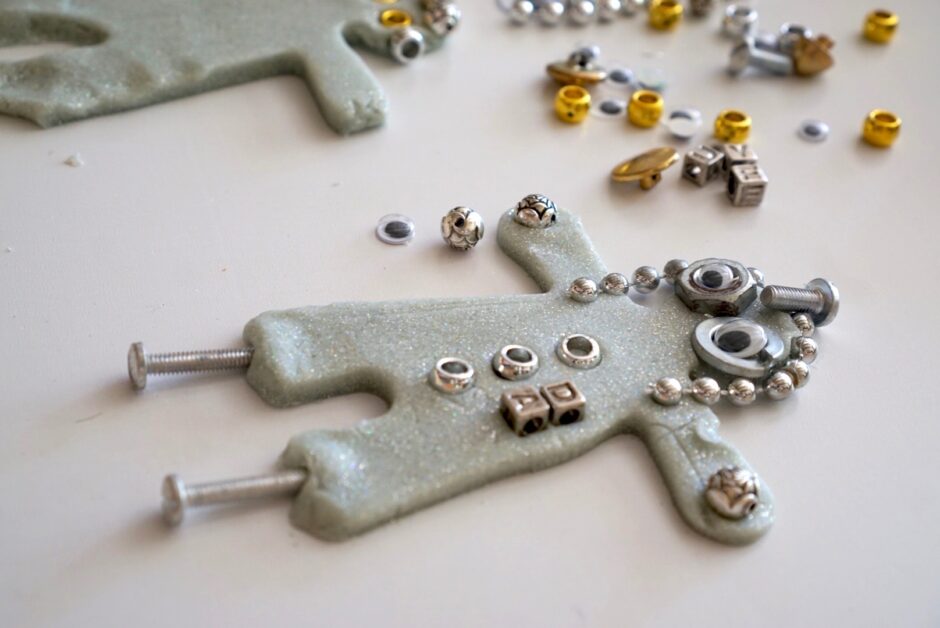
There is no right or wrong way to use the robot play dough kit. You might have a desired result (a robot) but your child might come up with something entirely different and that is okay. For example, I thought that Teddy would use the play dough kit to make robot bodies with arms and legs, but he chose to make robot faces with the material. I included a rolling pin which I think prompted him to flatten the play dough ball. Perhaps, if I had not included the rolling pin he would have decorated the ball of play dough in a more three-dimensional way like a snow man.
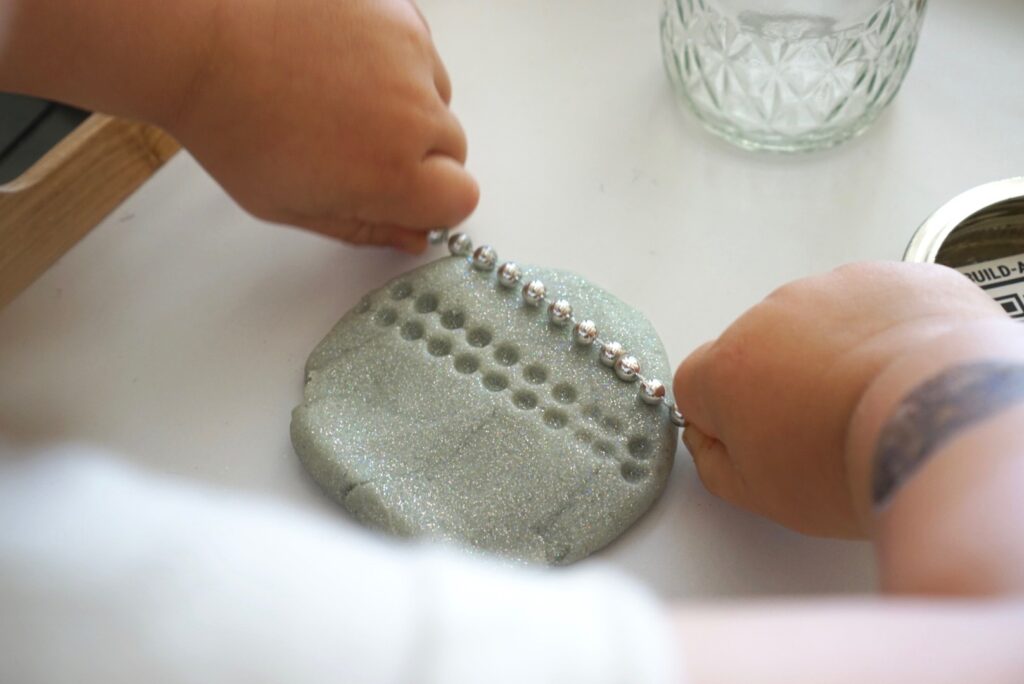
It is important to allow your child to begin experimenting with the materials without any adult interference. After the initial exploration of materials you can began working along side of your child. Teddy played for a bit before I began mirroring what he was doing. I made a face, but I also demonstrated some new uses of the materials. He was interested to see how several of the materials could be used to stamp into the play dough to make patterns. The silver beaded necklaces created a polka dot pattern which he added to his own robot face.
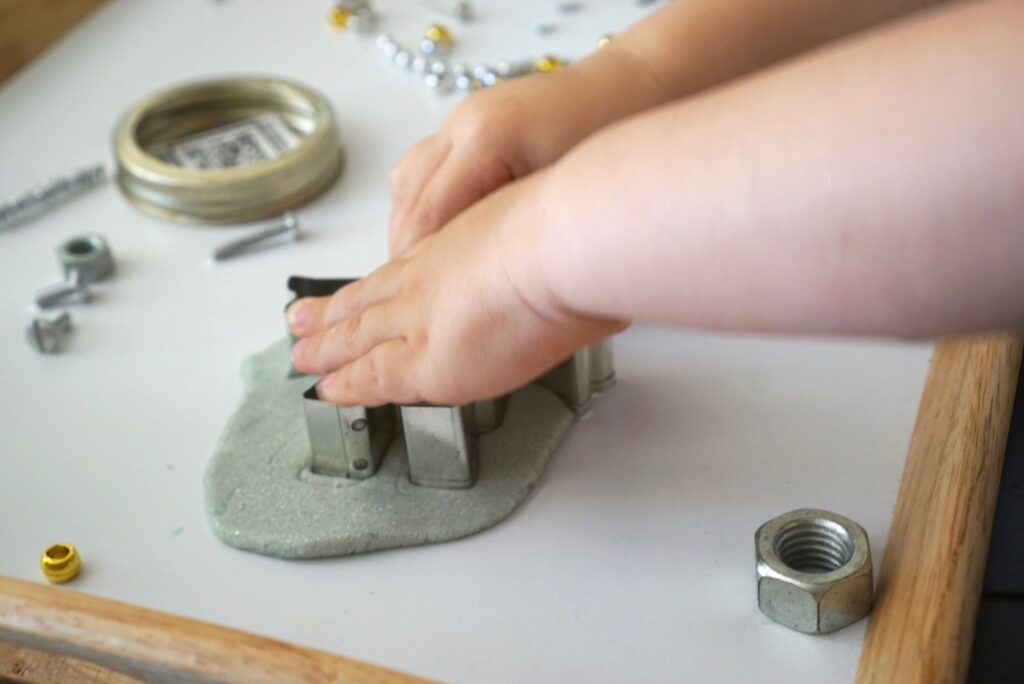
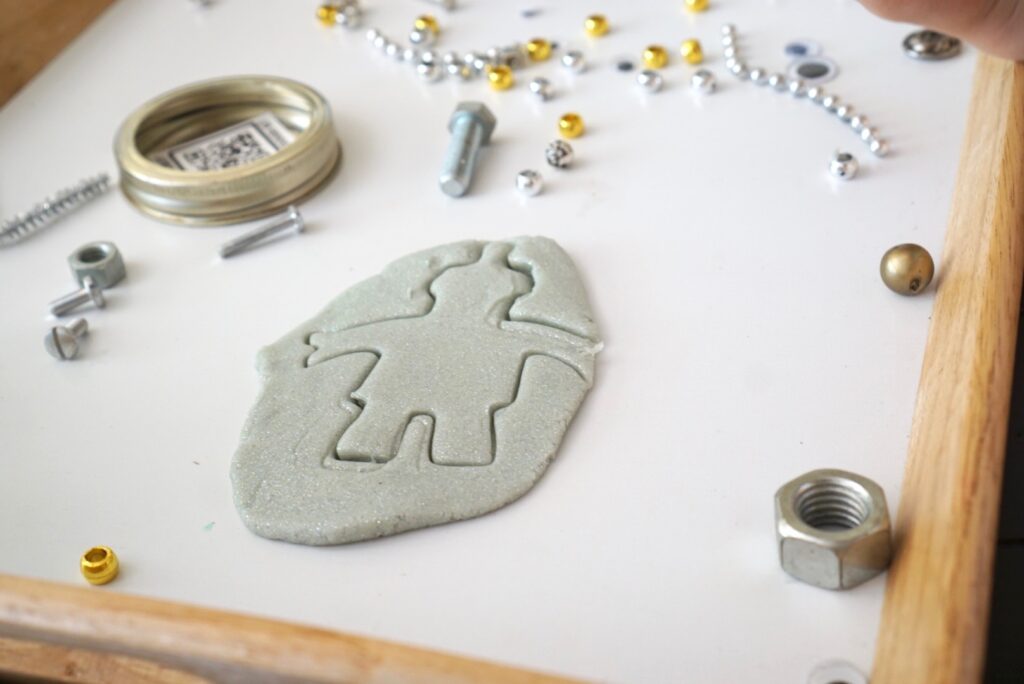
The second time I introduced the robot play dough kit I included the rolling pin, a robot cookie cutter and a gingerbread man cookie cutter. He rolled out the dough and used the cutter which then encouraged him to decorate the robot's whole body. After awhile I began working alongside of him again. He modeled some of my ideas and gave me some suggestions.
Most recently, he asked to play with his robot play dough kit during his sister's naptime. He worked independently and quietly while I was actually able to do some work on my computer and finish my coffee. I consider this play dough kit to be one of the most successful loose parts activities yet!
SHOW US HOW YOU USED YOUR ROBOT PLAY DOUGH KIT!
Tag your photos of your robot play dough creations with @ureadyteddy and we'll share our favorites in our stories!




[…] 14. Build-a-robot Playdough Kit […]
[…] Build-A-Robot Playdough Kit […]